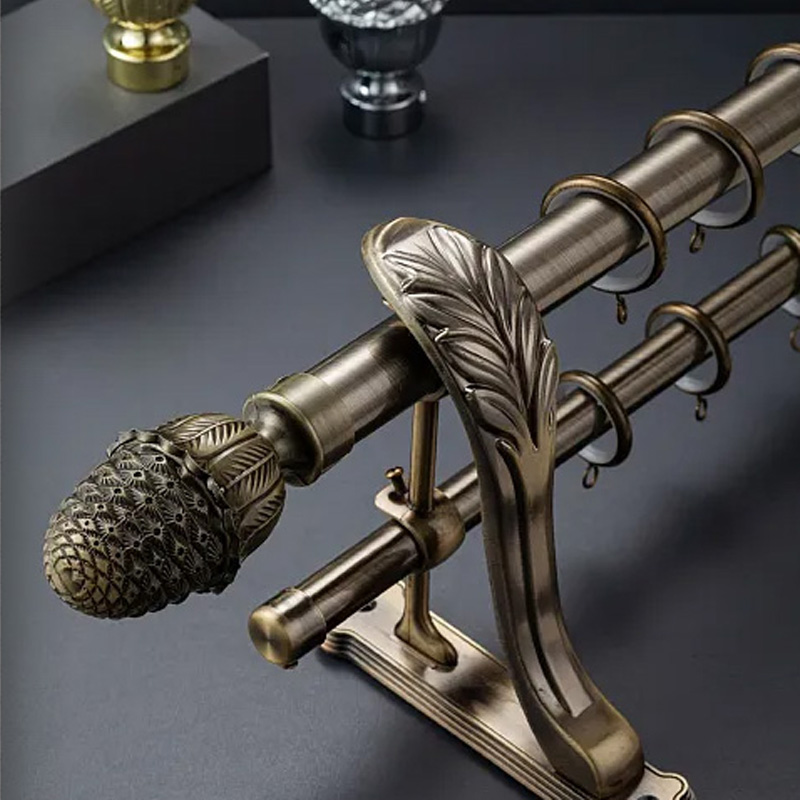
A wall-mounted curtain rod is easy to install and can enhance the overall look of your windows. Before installation, prepare a measuring tape, level, drill, screwdriver, and suitable screws.
Step 1: Determine the Installation Position
Measure the window width and determine the appropriate curtain rod length. We generally recommend extending the curtain rod approximately 15–30 cm (6–12 inches) beyond each side of the window frame. Leave an appropriate amount of space above the window frame. This step should be done before purchasing the rod.
Step 2: Mark the Bracket Positions
Use a level to make sure the left and right brackets are aligned. Determine the number of brackets according to the length and weight of the curtain rod. For longer rods, we recommend adding a center support bracket for better stability and load-bearing capacity.
Step 3: Secure the Brackets
Drill holes at the marked positions. Depending on the wall type, install wall anchors or suitable mounting hardware, then securely fasten the brackets to the wall with screws.
Step 4: Install the Curtain Rod
Thread the curtain rings or hooks onto the rod, place the rod onto the brackets, and secure it in place. Check that all connections are firmly installed, then hang the curtains and test them by opening and closing them to ensure smooth operation.
Tip: Always check the load-bearing capacity of the wall before installation. Different types of walls require different mounting methods and hardware.